Serving your data with GeoServer in the cloud – Enabling secure access from ArcMap, QGIS and other clients

My last blog titled “Adding Secured WMS and WFS Services from GeoServer to ArcGIS Online” generated good comments and suggestions. One suggestion was to provide the same guidance but when accessing GeoServer layers through ArcMap or other clients (e.g QGIS and web browsers). Another comment was to provide more details about how to setup GeoServer, in the context of Software as a Service (SaaS), to provide subscriptions to geospatial data using GeoServer. This blog provides these additional information with more details about setting up GeoServer to enable an organization to provide access to its data in the cloud, following a simple scenario, using basic authentication. At the end of the blog, examples of how to connect from different clients is also provided.
Use case
Let’s say you have a business model where you want to provide, via OGC services, access to data for the US states. Customers can subscribe to access data from an area of interest (e.g New York State). You want to have a different URL for each state, differentiating each product served. Also, customers that subscribe to New York (NY) data should not see data for the state of Maryland (MD) and vice versa.
Summary of the process
The simplest way to enable GeoServer to publish protected layers with basic user/password authentication is presented in the figure bellow.

Process to serve secure layers using basic authentication
The process can be summarized as follows:
- Create a role for each offered product
- Create a workspace for each offered product
- Customize security settings in workspaces
- Create a store for each source of data
- Add layers to GeoServer
- Configure GeoServer to trigger basic authentication for protected workspaces
- Add a user and associate the user to a product (role)
Note: The examples will be presented with the URL starting with http://localhost:8080. This blog will not discuss HTTPS. It is recommended to enable HTTPS.
1. Create a role for each offered product
Create a role per product you want to offer. This is, you will create two roles, one for NY and another one for MD.
In the menu go to: Security/Users, Groups, Roles where roles can be created.
Clicking on Add new role.

Adding new role
Enter the Name of the role. No other information is necessary.

Edit role form
If you added two roles MD_Customer and NY_Customer, you should see the following in the Security/Users, Groups, Roles page.

2. Create a workspace for each offered product
In GeoServer, workspaces are containers useful to group similar layers together. For example, a workspace can group the data coming from a particular source or use for a specific purpose. In our case, we will create two workspaces depicting the NY data and the MD data. Doing so, will created a different base URL for each offered product.
So, instead of having a WMS endpoint to access all the states like the following:
http://localhost:8080/geoserver/wms
You can create a workspace for subscribers to New York data which will be available as:
http://localhost:8080/geoserver/ny/wms
Whose WMS GetCapabilities is:
http://localhost:8080/geoserver/ny/wms?service=WMS&version=1.3.0&request=GetCapabilities
The Workspaces view would look like the following:

Workspaces view
When selecting one of them, you will see the following:

Workspaces basic configuration
For the workspace configuration you need to follow these guidelines:
- It is important to check the Isolated Workspace so the layers of this workspace will not be shown in the general GetCapabilities and the GetCapabilities of the dedicated URL will only show layers of this workspace.
- It is not necessary to click on Enabled, which is related to GeoServer rest services.
- It is not necessary to click on Services, since the layers containing on those workspaces will be enabled locally
3. Customize security setting in workspaces
The Security tab in the Workspaces will allow to provide granular information about the permissions that each role can have on a workspace. In the Security Tab of the ny workspace enable read access to NY_Costumer role. The same setup should be done for each product offered (e.g. each state).

Workspace security settings enabling read access to NY_Costumers
4. Create a store for each source of data
Making data available in GeoServer is done through Stores. The Stores are assigned to a workspace. To create a store go to the Menu Data/Stores. For example, creating a store to add vector data form PostGIS in the workspace of NY, will look like the following:

Adding a new store – PostGIS

Stores – View – New York PostGIS
5. Add layers to GeoServer
Once a store has been created, a layer can be loaded from the available source. Go to the Menu Data/Layers and select Add a New layer.

New layer ny:poi
The example above will create a layer poi , which contains points of interest found in the store poi.
You should see both Enabled and Advertised checked, so they are accessible via OGC Services.

Enabling Layer
6. Configure GeoServer to trigger basic authentication for protected workspaces
GeoServer can be configured with different behaviors related to data security. For our use case we will use the Mixed Mode, which protects the services but triggers authentication when attempting to access the data or the metadata (i.e. GetCapabilities). Also the role that enables reading of ny data in the ny workspace should appear as one of rules (see highlights in red ovals) as it was configured previously at the workspace settings.

Data security configuration
7. Add a user and associate the user to a product (role)
Whenever you have a new customer, you need to create a user and associate the user with a specific role (or product). For example, if you have a new customers that subscribe to the New Your data, you should (manually or via scripts) create a user.
Go to the Menu Security/Users, Groups, Roles, click on the Users/Groups tab and add a new user as follows:

Adding a new user to the NY data product
Note that the user was associated to the NY_Costumer role, enabling the user to get access to data in the NY workspace. This step is repeated for every customer that needs to be added.
Users connecting to your service
When a user connects to a client, the client will ask for user and password. Examples of some clients are shown bellow.
Connection from Safari

Safari – accessing secure services – basic authentication
After the previous steps have been completed, your customers will be able to consume the services using basic authentication. Examples of clients are presented in the next section.
Connection from Microsoft Edge

Microsoft Edge – accessing secured services
Connection from ArcMap
a) The user needs to open the Catalog window and click under GIS Servers the menu item named “Add WMS Server”:

Adding WMS server in ArcMap Catalog
b) The user provides the connection details in the window properties, as follows:
- The url to the WMS service to (e.g. http://localhost:8080/geoserver/ny/wms).
- the version of the service: 1.3.0
- In the Account section provide user (e.g. ny_customer_1) and password.

ArcMap configuration
Connection from QGIS
If using QGIS, this is the process to access protected services.
a) The user needs to go to the browser window and create a new connection. In this case, a new WMS/WMTS connection.

QGIS client browser view to add a new WMS service
b) The user enters the details of the WMS end point, including the username and password.

QGIS WMS configuration with basic authentication
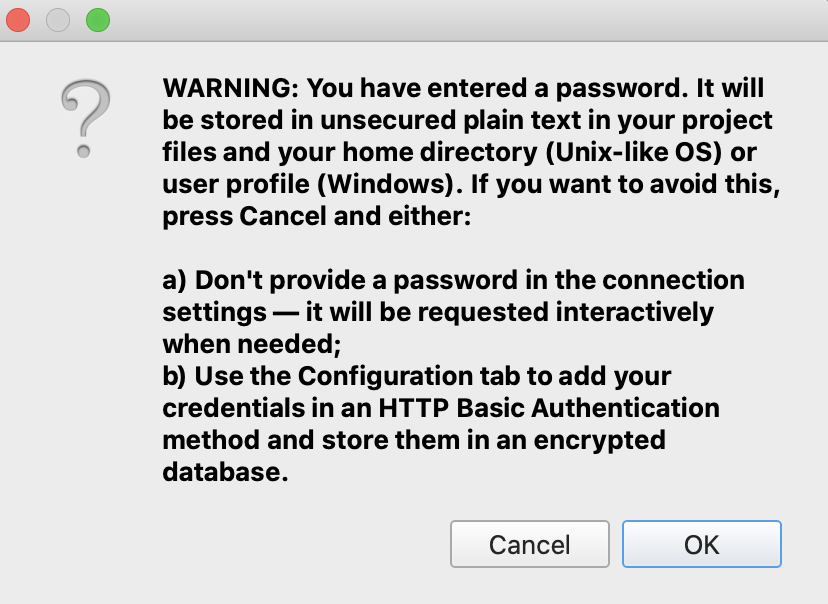
c) A warning will popup related to storing the password.

QGIS warning
d) You can click on OK. The available data will appear under the WMS/WMTS item. For example, NY Data. This can be dragged to the layers panel at the bottom so they will show up in QGIS. The example also provides a connection to an OpenStreetMap basemap for context, which GeoSolutions makes available to some of its customers.

NY data in QGIS
In summary, this post provided a simple process to enable access, using basic authentication to GIS clients to setup cloud data serving using GeoServer. Notice that we are in the process of scheduling a webinar to covering security in GeoServer and exploitation from ESRI clients as well as QGIS, with various tips based on our experience.
If you are interested in learning more about how we can help you get the best out of GeoServer (e.g. securing services, connecting to Esri clients, etc.) and help you achieve your needs through our Enterprise Support Services and Subscription Services please contact us!
Cordially Luis,
on behalf of the GeoSolutions team,
